Archive for the ‘crafts’ Category

Making Bird Feeders from Recycled Stuff

Our project this weekend was taking some of the plastic containers out of the recycling and turning them into something useful — bird feeders! This is a fun project and you probably have everything you need sitting around the house. A glue gun makes it easy to “dress up” a basic feeder, but really you don’t need to do that, and you could make a simple feeder in about 5-10 minutes. My thinking behind doing this was that we focus too much on the recycling part of “reduce, reuse, recycle” and not enough on reusing. My next project is making one of those purses out of chip bags, but that’s a whole other post… 🙂

To make recycled bird feeders, you need some plastic containers (we used an old spice container, yogurt bottle, cooking oil container, and juice bottle). Clear plastic is more of a pain to cut through than opaque plastic, fyi. But the spice container had a nice square shape to it, so I used it anyway. You also need something to hang it with (rope, wire, etc.) and something for the birds to sit on (we used sticks from the yard, but I’ve also seen old wooden spoons and silverware used). If you want, you can decorate it with a glue gun and random crap to stick on the outside (we used twigs on one and nothing on the other one), or have the kids paint it with nontoxic paint. And don’t throw away the container lids, you need them to keep the rain from soaking the bird food inside. We also used a large nail and candle flame to make holes for the stands for the birds and the places to insert the rope. Oh, and you need bird food. 🙂

Materials

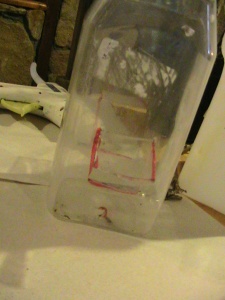
Mark where you want the “windows,” where the birds will stick their heads in, and dots below each window for the perch holes. Also a couple of dots for where you’ll feed the wire or rope through beneath the lip of the container.

Be careful cutting out the windows; adults should definitely help kids with this part. For the container in this photo, I had to heat up the knife over the flame to get it into the plastic. I did the same with the nail to make the perch holes and rope holes.

If you want to cover the container with something, like we did with the twigs, I’d suggest putting the perches and the hanging rope or wire in at this point, rather than after covering it. Doing the glue gun-twig thing was really hard for my six-year-old, so I ended up doing all of the decorating. Which is why one of them is completely undecorated. 😀 I thought afterward that you could have younger kids paint white glue on one side at a time and then sprinkle dry sand over the surface. Sort of an adobe bird feeder effect. So I might try that next time, since we only ended up finishing two of them today.

Glue-gunning twigs

Thread the rope through and knot it, then fill with bird seed, replace the lid and you’re done! Here’s the finished “log cabin” bird feeder hanging in the ficus tree.

Here, birdy birdy birdy...

Right next to it I have a hanging basket that I fill up with coconut fiber and dryer lint. I have a bunch of other hanging baskets with orchids in them and no where else to put them that would be safe from the little sparrows that kept stealing the coconut fibers from the baskets. So I figured, if you can’t beat ’em, join ’em, and now they have their own basket that I keep stocked with their own nest-building materials. As you can see, this tactic seems to have worked:

One of my very bratty birds

This is the other feeder we made. It’s just an old yogurt bottle with a twig perch and wire I found in the garage. Teeny tiny birds will like this one. I hope!

Simple feeder from a yogurt bottle

Homes for Toads

Today we (ok, *I* actually!) decided to make toad houses from old pots I had lying about. I had read about them ages ago, but wasn’t 100% sure how to do it. Because Google is awesome (lol!), I just searched for “how to make a toad house from a pot” and found more hits than I could shake a stick at. Most of them call for using terra cotta pots, but the plastic ones are used far more frequently here in Costa Rica (due to the weather, I suppose?), and those were what we had on hand, so we went with that.

Basically, it was a project in making something useful out of what you have on hand:

Step 1: Gather materials. We used three old plastic pots and rocks from our yard. For the roofs, we used different materials, like coconut fiber, old tiles, dried palm fronds, twigs and leaves. Besides that, all you really need is a glue gun (and several glue sticks if you plan to make several pots!). Wash the pots and rocks very well; I let the rocks dry for a few hours in the sun, otherwise the glue wouldn’t stick. If gathering rocks from your yard, collect about three times as many as you think you need, and then some more! I was surprised at how many rocks it actually took to cover one small pot.

Step 2: Cut a hole for the toad and start gluing down the rocks. The hole shouldn’t be too big or too small. I ended up cutting mine a little too big, so I tried to place the stones hanging over the cut edge to make it a little smaller.

Here is my son working on his toad house. Since we’re homeschooling, we turned this into a whole learning experience about toads — what they like to eat, where they live, why they need moist, dark homes, etc. Lots of fun! He added a bell to the side of his toad house (it used to be part of an old wind chime) and put marbles in some of the holes to make “stained glass windows.”

Step 3: Add the roof and put the toad house in the garden. Wait for toads to move in! I didn’t take a picture of us putting on the roofs, but it’s basically the same idea. This is my house, covered in volcanic stones with an old bathroom tile for a roof that I covered in leaves and coconut fiber. I put mine in the shade of the false vervain plants in our butterfly garden. Toads don’t eat butterflies, do they? 😉

This is my son’s toad house. We call it the hippie house! He used lots of old bathroom tiles, and then covered the top with twigs and palm fronds sticking out of the hole in the bottom of the pot (now top of the house). We located this one by the side fence under some bougainvilla.

My husband’s toad house. His is so chic! He used river rocks and put an old roof tile that moss had grown in for the roof. I told him that’s a very hip toad to have a house with a living roof! This one is under a banana tree next to a water spout from the roof. Toads really need to stay moist, so it’s good to have a water source or a dish of water nearby. Dengue can be a problem where we live, so we have to make sure any standing water is changed frequently (although we do keep a birdbath).

It was great fun for the whole family to make these toad houses, and I really love being able to make something not only useful but beautiful out of what would otherwise be junk. Here in Costa Rica, we have a lot of cane toads, which are poisonous to dogs if they grab them. My lovable, sweet black Lab Numi is, let’s say, not the sharpest knife in the drawer, so we have to keep her away from toads. Therefore, we put all of the toad houses in the front yard, as she spends most of her time either in the backyard or in the house (the 75-pound goof thinks she’s a lapdog, but we love her!).

If you have made a toad house, please leave a comment and let me know how it went, or if you have any tips to share!

There, that’s better.

I decided on a completely different direction, and attached the mini quilt to a twig from my backyard. I figured it fit into the whole bird theme. My husband asked if I was going for a “rustic chic” look, which coming from him isn’t exactly a compliment. LOL… I like it though! Even if it is a bit “rustic.” I need to do something to weight down the bottom so that it stops curling… which might actually happen by next Christmas!

Holiday Crafting

Jeez Louise, I can’t believe I haven’t blogged since July! And here it is January 1, 2010. Which means I haven’t crafted or quilted in an ice age. That is just wrong, my friends! I don’t really do New Year’s resolutions, but I think this year I am going to have to at least promise myself to quilt and craft more often. With my new job and a five-year-old, things can get busy all too soon, leaving one little time for oneself. And we all know we need to give ourselves a break now and again!

On with it, then! I made a couple of things this Christmas; little things that wouldn’t take me much time to do but also things I’ve been wanting to have a go at. First up: Christmas wreath.

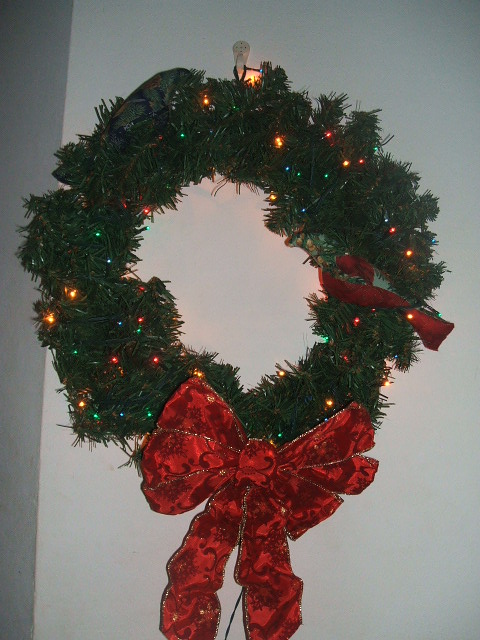
This year, we finally broke down and bought a fake tree. The “trees” that pass for Christmas trees in Costa Rica are sad, Charlie Brown-type things, and this year (after living here for 9 years!) I finally put my foot down and said No more real trees! I love the little tree we found at (gasp, yes I know) Wal-Mart aka Hipermas. The other thing I always wanted was a nice wreath, so I bought one that matched the tree, added a big ribbon bow and a string of multicolored lights to it, and then made two little Christmas birds to sit in it.

Christmas wreath

It looks much nicer in a darkened room, with the lights twinkling off and on, but I couldn’t manage a decent shot with my little digital camera (which is dying anyway, btw). Here are closeups of the two little birds; there’s a free pattern at Spool if you would like to make your own.

One of the women in our crafts group found the pattern and we all made a bird or two for another friend’s new baby. Though we never actually got around to stuffing them — the baby is now six months old and I think the birds are still waiting to be finished! Well, we’re crafting again in January, so I hope we’ll finally wrap up that project. 🙂

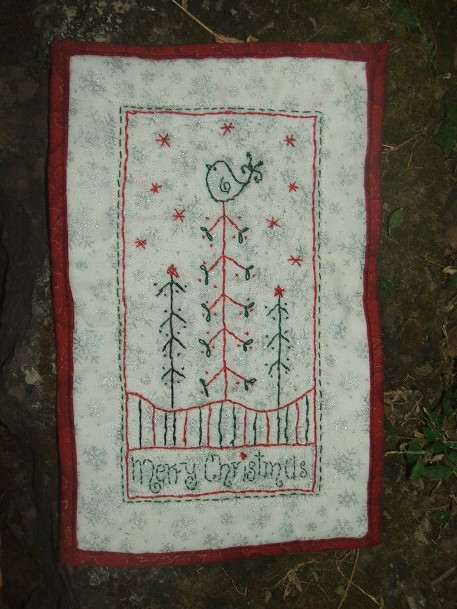
The other project I worked on was a mini-quilt. It’s only 10-3/4″ by 6-3/4″, and I still need to figure out a simple way to hang it (Ami Simms at the Alzheimer’s Art Quilt Initiative has some fantastic ideas for hanging small quilts; I’m sure I’ll use one of them!). This was my first attempt at hand embroidery (please don’t laugh too hard — I know the stitches are completely wonky and it looks as though my five-year-old made it, but one has to start somewhere, right?). I really love the look of redwork and initially thought I’d do the whole piece in red, but at the last minute decided to use green as well, to highlight and make it more Christmasy.

Believe it or not, it’s not actually as wonky as the picture makes it look! I don’t know why I can’t take a decent picture of a quilt yet. It’s sad, really… I machine quilted and bound it, and “discovered” through trial and error an easy way to do mitered back-to-front wrap binding using the machine. I just really can’t stand hand sewing binding, though I don’t mind hand sewing in general. Basically, it’s a matter of folding the corners, stitching two parallel bindings, then folding down the corners again on the other sides, and stitching the two remaining bindings. I will put together a short tutorial, though I highly doubt I am the first person to come up with this and there are probably better instructions out there.

You can download the embroidery design for free at Gail Pan Designs.

Happy New Year everyone! Here’s to a year filled with love and quilts!

Getting Ready for Harry Potter

The new Harry Potter movie just opened here last week (as it did most of the world, I believe!), and we’re planning on going today. On a Tuesday afternoon. Because I hate crowds! Yes, it’s true! We have a great theater we like, with big comfy chairs and full-service waitstaff, but it’s nice to go in the daytime mid-week because you often have the place to yourself. I doubt that will be the case with Harry Potter, since it’s so incredibly popular and schools are closed for the swine flu scare, but we’ll see.

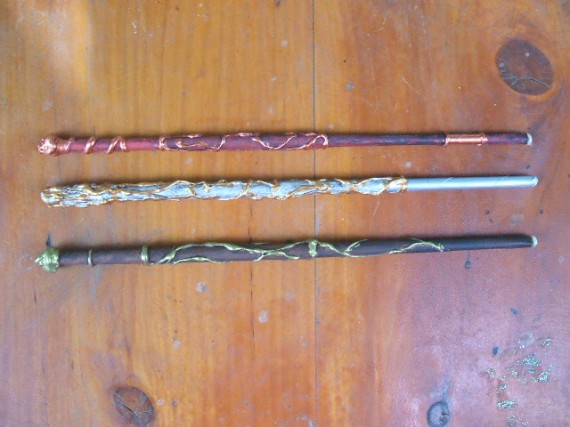
Anyhoo, I came across a fantastic craft for making Harry Potter wands, so I thought, why not make one for each of us to take to the movie? They were so incredibly easy, and came out so dang cool that I want to make more. I probably will, since the craft girls all have kids, and most of them love Harry Potter.

Just follow the directions, and you’ll end up with your own version of these:

From top: son's wand, dad's wand, mom's wand.

From top: son's wand, dad's wand, mom's wand.

A couple of suggestions:

  • When rolling the paper, leave about 1/3 of the sheet to glue down with white glue. This will make the whole wand stronger when it dries. If you leave too little paper to glue down, the wand can be a little flimsy.
  • Make sure each layer of paint is completely dry before putting on another layer. Otherwise it smears and makes a big mess! Ask me how I know… 😀
  • The more layers of paint you build up, the more realistic it looks. One layer just isn’t going to cut it!
  • I read a tip to use glow-in-the-dark paint on the tip, and that came out great! Definitely try it if you have glow-in-the-dark paint.

These are really incredibly easy to make, and fun — even my husband enjoyed painting his! Well, sort of. I may have threatened to turn him into one of these if he hadn’t.

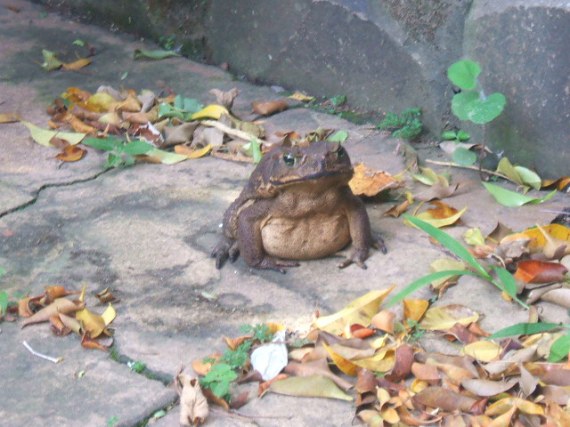
Garden Toad!

Garden Toad!

More stupid sock creatures

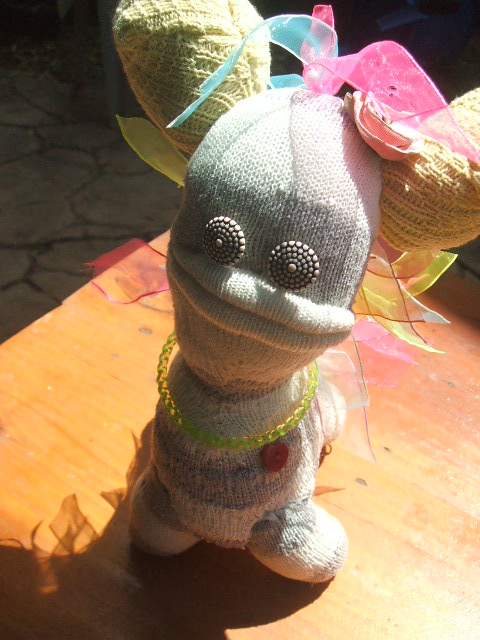
Well, I can’t stop making these things. I knew they would be addicting! Here are Eugenie Etouffee and Angus MacVicar, the latest in the Stupid Sock Creature crew.

Eugenie Etouffee is actually my favorite so far. She's so cute! These buttons were a pair I'd picked out at the last second (among about 30 pairs of buttons), thinking, maybe I can find a use for these? I think they fit her perfectly!

Eugenie Etouffee is actually my favorite so far. She's so cute! These buttons were a pair I'd picked out at the last second (among about 30 pairs of buttons), thinking, maybe I can find a use for these? I think they fit her perfectly!

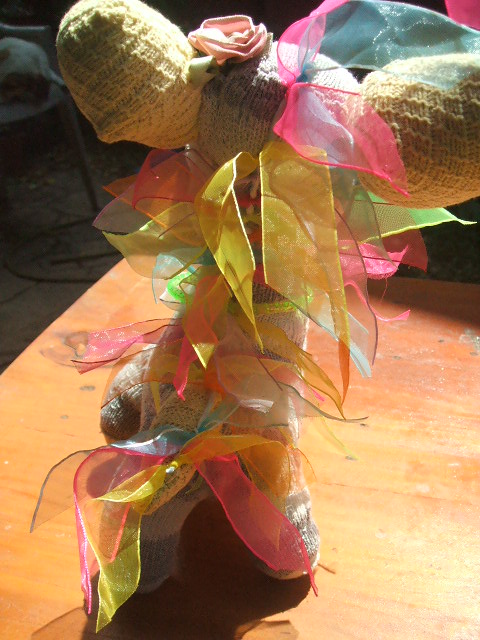
I used part of a kid's dress-up boa to put ribbons down her back, back, back... :-)

I used part of a kid's dress-up boa to put ribbons down her back, back, back... 🙂

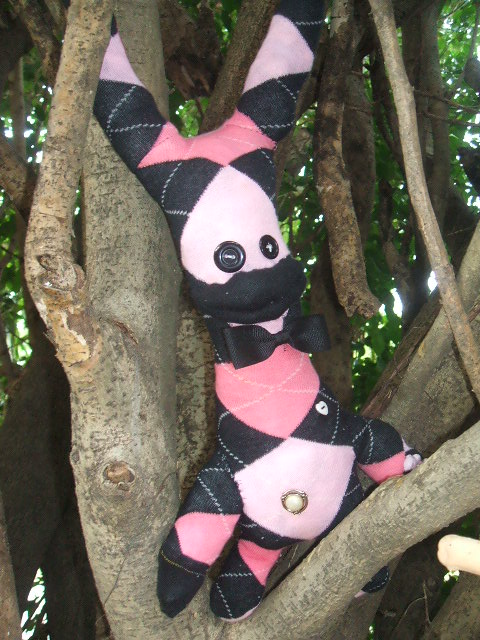
Angus MacVicar is made from argyle socks. He's named after a guy a friend of mine went to high school with in Canada. Strangely, when I Googled the name Angus MacVicar, I found a poet from (where else?) Argyle!

Angus MacVicar is made from argyle socks. He's named after a guy a friend of mine went to high school with in Canada. Strangely, when I Googled the name Angus MacVicar, I found a poet from (where else?) Argyle!

Stuff of the earth

Sometimes I think I ought to change the title of this blog, as its focus seems to be going away from strictly quilting and more toward crafty, fun things I like to do that also include quilting. But then again, I love the title, so I’ll probably keep it just as it is. 🙂

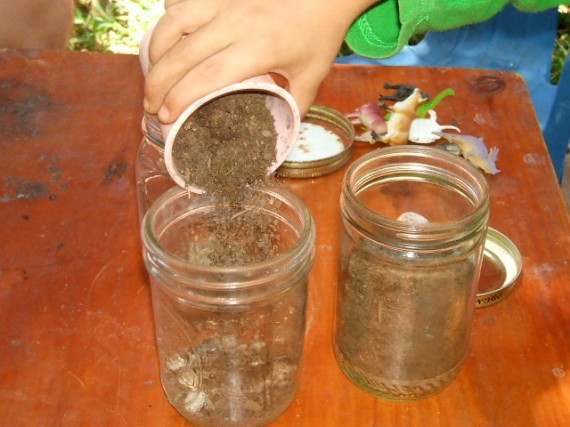
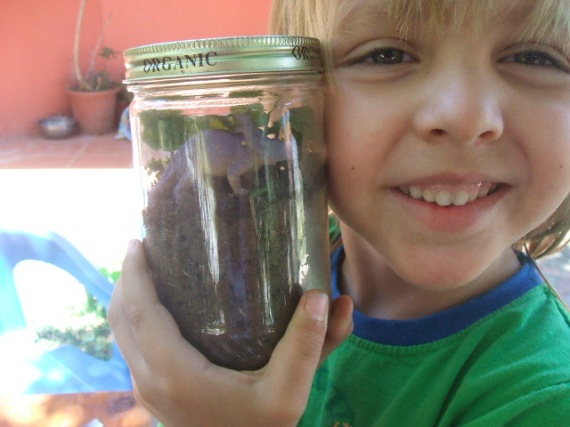
Yesterday I saw a post on Craft Magazine’s blog about making terrariums out of jars. I have a bunch of Ball jars from canning various things over the years, and I’m always looking for something fun to do with my son (who’s back to homeschooling, by the way!), so this was yet another perfect project. You can get the specific directions over there at Craft; otherwise, this is our photo diary of a really fun morning.

dscf2465

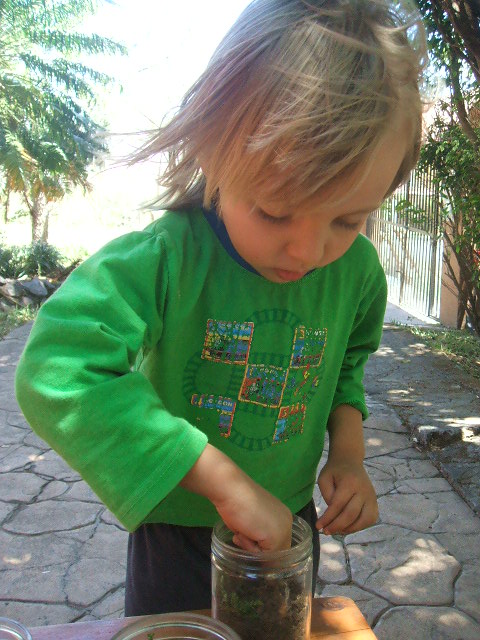
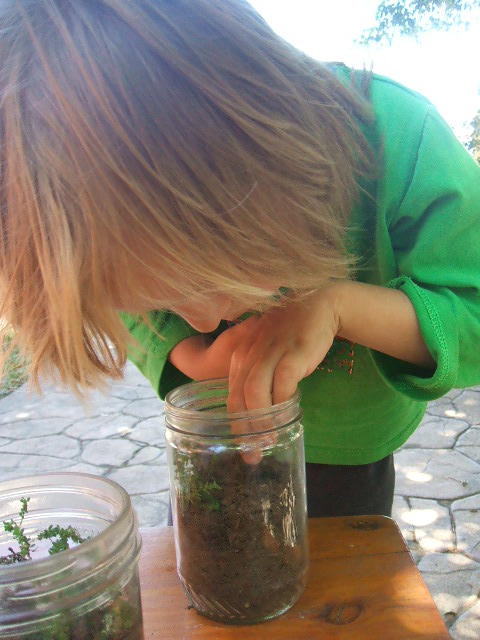
Pouring dirt into the jars...

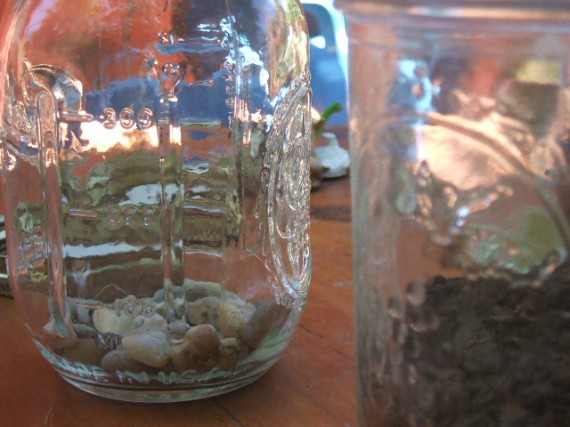
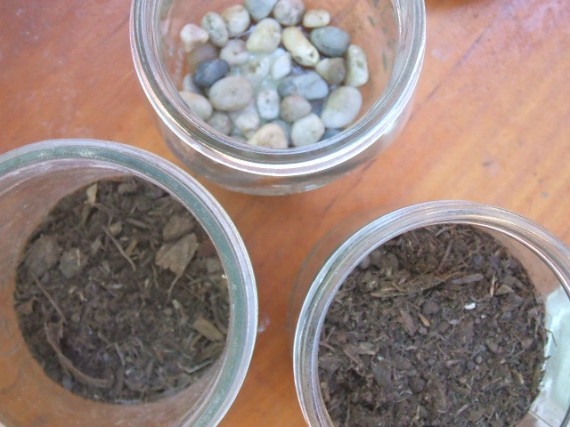
We probably could have used more stones in the bottoms!

We probably could have used more stones in the bottoms!

Three jars are better than one. A balance thing, I guess!

Three jars are better than one. A balance thing, I guess!

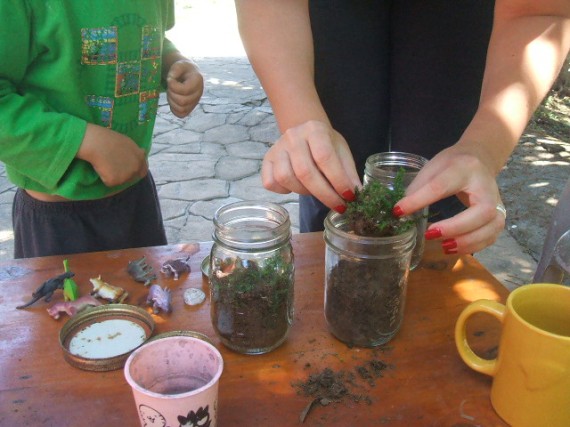
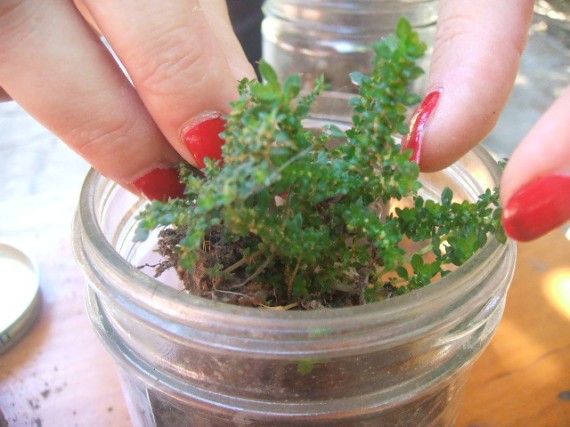
Here we are adding little plants to the jars.

Here we are adding little plants to the jars.

Ooh, someone needs a manicure!

Ooh, someone needs a manicure!

Adding more plants...

Adding more plants...

There! Just right!

There! Just right!

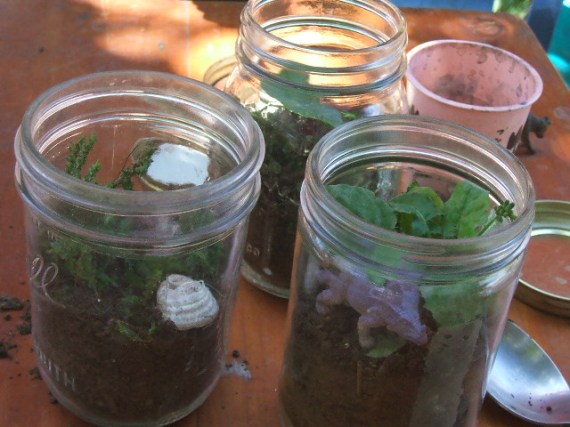
Ok, a little too much dirt, probably, but they're done!

Ok, a little too much dirt, probably, but they're done!

Proud of his creation.

Proud of his creation.

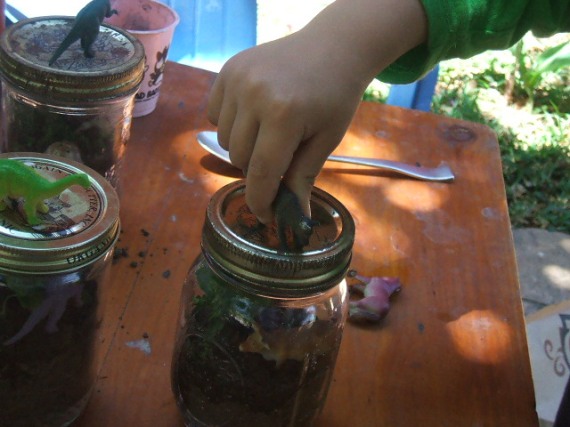
The little animals that didn't go inside get to play on top of the terrariums.

The little animals that didn't go inside get to play on top of the terrariums.